Showing posts with label Tree of Hope. Show all posts

Jan 25, 2012

Tree of Hope: Finished!

Mr. Tree of Hope was completed just in time to go off to an Exhibit.  I took an entire weekend ToH, Uguisu Reflects on Ume, and LilyCompass I.  Below is a photo of ToH all decked out in his frame.  I thought this frame to be really appropriate with leaves. 
 So off they went:
Christa,Lilystitch
 www.lilystitch.com

Jan 23, 2012

Tree of Hope: Oh NO!

 While working the GoldWork, I somehow dropped some beeswax onto the fabric.  OOPS!  EEEEKS!!

Last post, I mentioned how AWESOME my stitching buddies are.  Not only did they put up with my constant inquiries about the birds but they also let me first cry and then torment them about what to do about this little stain.  I've circled in red above.

So I learned an important lesson (that I had learned before but chose to not remember, selective memory!) to cover your fabric and work while working with beeswax with pre washed linen fabric or archival quality tissue paper to keep from marking up places that you really don't want to mark up.

I couldn't leave that mark exposed for a couple of reasons so I had to come up with a creative solution.  Of course it was in an awkward spot that threw the balance of the tree off that I worked really hard to achieve during the design process.  (Sorry, had to whine a bit)

My great friends came up with lots of creative solutions: a bird in flight, a bug, etc.  In the end I decided the best way to keep the design in balance and not too heavy was to add three leaves. The first leaf to cover the spot, the other two leaves to balance out the design.

Below you is the piece completed with the leaf to the right, one added floating to the bottom right, the last to the bottom right.  The design opportunity that came about is to off-set the tree, therefore making it more visually interesting.  At least, that is my hope…

I also added metallic #1 in the leaves to help the give some more "pop".


Christa,Lilystitch
www.lilystitch.com

Jan 20, 2012

Tree of Hope: The Birds

I really have the best stitching buddies, EVER!  I know that they are beyond compare because they put up with my dogged consternation over simple problems at time.  In this case, I was doing a lot of hand wringing over what colors the birds should be. 

Blue Bird? Cardinal? If Cardinal, should it be the bright red male and/or the gorgeous green/yellow female? Perhaps a Wood Pecker? Robin? Titmouse?

I just love birds.  Pretty much all birds.  No surprise there, right? 

Anyway, my really awesome stitching buddies were of different opinions and although I knew exactly how the shading of the tree or the trunk was worked, I just couldn't decide. 

So in the end I came up with a mixed solution.

First up is the Wee Blue Bird: 

 Followed by the Mr. Cardinal:


Topped off with Mr. Finch: 

I wish I could say that the exact position happened organically or because of a picture I took, rather, I pulled out the color wheel and said "Ok, blue to the right, red 1/3 of the way over, and yellow at the top".

During the stitching, I was updating to Facebook and began calling all the birdies "Wee" because they are actually quiet tiny.  Each bird received a eye worked with a Japanese Knot in black.  
One last note, I have discovered this really cool iPhone app called Instagram that you may enjoy.  Its really easy to pull a picture in and give it a neat look or frame. It links with Twitter and Facebook.  Really good stuff. 

Next up: Final challenges

Christa, LilyStitch
www.lilystitch.com

Jan 16, 2012

Tree of Hope: Working the Trunk and Branches

When I first began this project, I was thinking I really should do round and round couching.  As I was working the leaves I realized I wanted something more realistic. So why not stretch the Pearl Purl and create a very bark like effect?  That way the brown shows through and you get all the sizzle of the Gold.
At first, it took a ton of nerve to treat the Pearl Purl so harshly.  With the first bit in, I was totally hooked and having a great time.
As more and more went in, it was fun to see the results…. almost like I was watching veins grow up the tree.

Bark completed:

Next up: The Wee Birdies

Christa, Lilystitch
www.lilystitch.com

Jan 14, 2012

Tree of Hope: Beginning on Trunk & Branches

Work continues on Tree of Hope with the addition of adding brown felt for the base of the trunk and branches.  

To cut out the felt, I simply took a piece of the thin paper with the outline printed on it and pinned it onto the felt.  Then I carefully cut out the shape just a bit smaller than the outline.  The felt is then tacked down to the ground fabric (I used more of the thin silk quilting thread - silk is SO nice to work with).  

Then I was a REALLY good girl and made myself work the rest of the leaves.  Any and all work done in silk needs to be completed before the Goldwork or one will be wrestling with the silk by getting it stuck in the gold constantly.  

I only slightly broke this rule and saved the birds for last.  Reason being that I just could not figure out what kind/colors of birds I wanted in the Tree of Hope…

Anyway, with the flat stitches on the leaves completed, I then put in veins. I tried to keep the veins a bit lighter than the color silk the rest of the leaves are worked in.  I did twist in some number one gold into some of the veins to add some pop. 
Then I began work on the trunk by couching down Fine Pearl Purl.  Pictured below but if you click onto the picture above and enlarge it you will see the Pearl Purl for the whole tree.
Next up: The Gold Work on the Trunk

Christa, Lilystitch
www.lilystitch.com

Jan 9, 2012

Tree of Hope: Leaves


To begin work on the Tree of Hope (ToH), is to begin work on the leaves.  My choice for the leaves is to work them in mostly silk in horizontal layer.  Horizontal layer is a technique commonly used in Japanese Embroidery where the silk thread is laid in a satin stitch diagonally.  

My goal with the leaves is to create a shading effect for the light source to be in the top light of the design.  Below is a picture of an inspiration tree where the light source is similar to the effect I'm going for.  


My first leaves will be in my lightest shades of green in the top left corner and I'll work down, out, and to the right.  I'm also going to had in a bit of #1 gold metallics in a rust to help give the leaves a bit more of a rustic fee.  Here are the first leaves that I put in.  You will see these leaves develop in future posts.  


Next post, I'll explain my choice for the trunk and branches.

Christa, Lilystitch
 www.lilystitch.com

Jan 5, 2012

The Tree of Hope: Design Inspiration

Sometimes inspiration sneaks up on you, sometimes it hibernates, and then there are times when it keeps you up at night.  The later is what happened to me soon after we sold our house this summer.

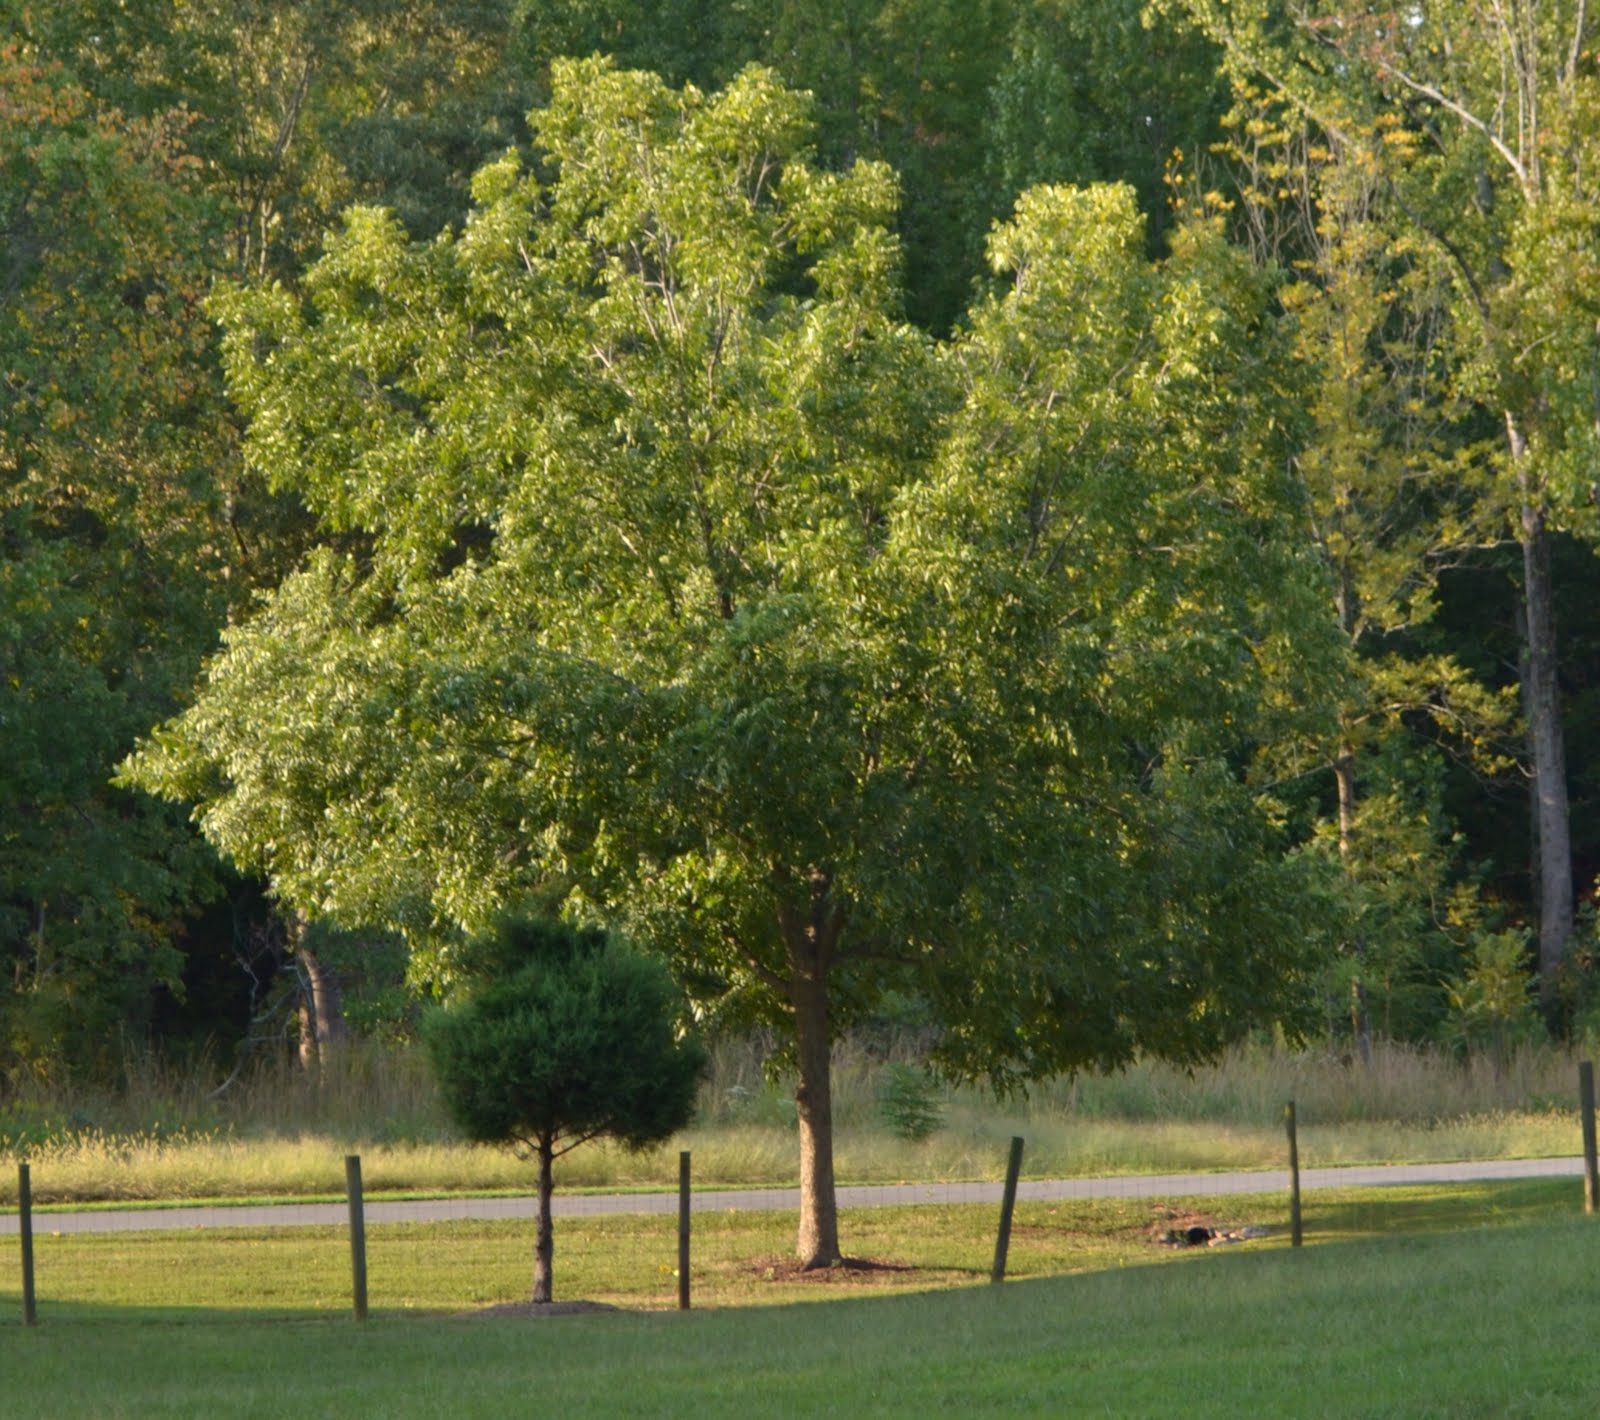
I'm a HUGE hiker - I love to take strolls in the woods accompanied by Cocoa.  Often those pictures show up in this blog and it was certainly a part of the inspiration of Uguisu Reflects on Ume.  There is this beautiful park right by where the new little LilyPad is located that we walk in every day.  There are several glorious White Oaks that have a bridge that runs right by them.

One day, little Cocoa decided to make a snack of several acorns from these tree on the bridge just under them. 
 As I stood there waiting for the little feast to finnish, I began the theorize how I could stitch that tree.  How I could replicate that wonderfully complicated bark, the waxy leaves, the wizened branches.  As I stood there, breathing in life itself, I began to envision what my future could be, what I'd like for it to be, and a really incredible calm came over me.  
So I went home.  I fed the pups and husband.  Spoke with my mom, my very pregnant SIL, my sister, Kermit. Nothing special about the night but that feeling just didn't leave me.  

Then I woke up at 2 am.  Am I the only one who has an hour in the middle of the night that occasionally turns my mind ON? I like to call it the Witching Hour.  Not sure why but this is generally when I have the best ideas, the most incredible inspiration, and when whatever it is that has been nagging me becomes apparent.  (Perhaps thats why I call it the Witching Hour).  

This is what my mind saw - The Tree of Hope (ToH):
Well, this isn't exactly what I saw.  This is just the outline of it.  In the picture above, I had drawn it, transitioned it to my computer, printed on transfer paper, and then stitched it on.  Click here if you would like to read about my transfer technique.

The ToH is intended to be a stylized design with rich bark, lush leaves, and even some Wee Birdies:
Christa,Lilystitch
www.lilystitch.com