
Threading a needle with gold thread can be daunting to those who have never done this before. In this tutorial, I am going to walk you through the process.
The first step is to use the right needle and the right thread:
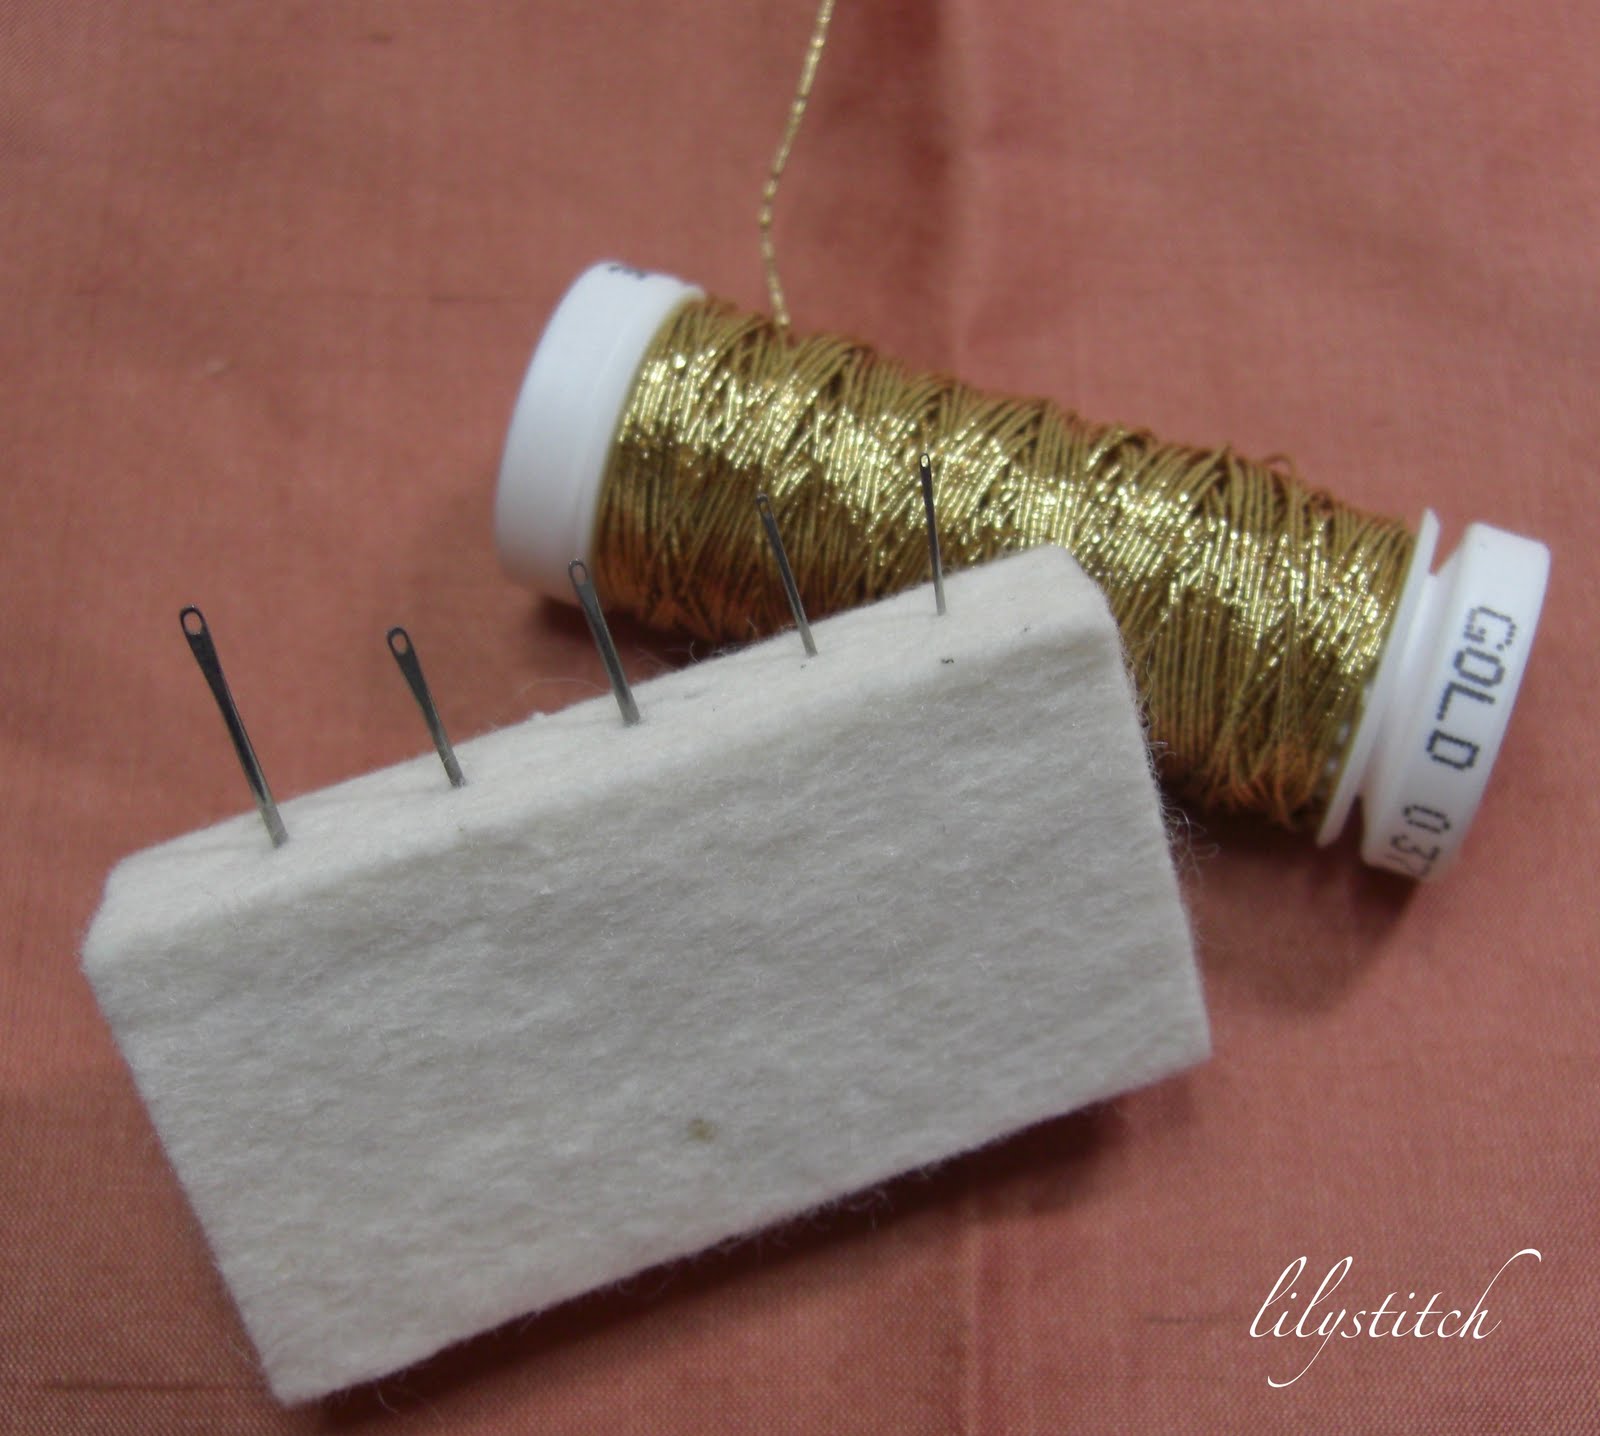
Needle: My preference is a hand made Japanese Embroidery needle. The needle's eye tends to be more of an oval and the head of the needle of itself tends to be flat and a bit round. The flat-ness helps with threading and holding the needle. The roundness creates a very nice hole for which the thread to pass through. One last benefit: no burrs within the eye of the needle in which the gold thread can get damaged.
Thread: If you will be creating stitches which are not couched down, then the right thread will be any sort of passing thread that is strong enough and small enough to pass through the fabric (thus the term "Passing Thread"). Number one Japanese Embroidery thread is a good choice.
Note on scissors -- please use a pair of scissors that is dedicated to the purpose of cutting metal thread. If you use scissors for metal, silk, cotton, etc., then that pair will dull quickly and become a cutting nightmare on your finer threads like the silk and cotton. The pair below is my bigger pair of Japanese scissors that only cuts metal.

The Process: Cut your thread to length. Double up the ends in your finger.


In this case, I used this threader which did strip the threads slightly but they are at the ends and not going to be a problem.

Thread the point of the needle through the loop.


Pull the needle through creating a half hitch:

In the picture above, you will notice that the thread is now doubled in the needle. This is a good thing if you are doing a satin stitch or an area that needs some full coverage. However, if you need to stitch with one thread then simply do the same process but with one of the tails short, the other the length needed to work your stitch.

Note about the half hitch -- just like the Japanese Embroidery needle, the half hitch serves the purpose of preparing your ground fabric to pass through it and lay nicely. Not only does it serve to anchor the thread which prevents unraveling, but its there to make your stitching much nicer, too. A wonderful side effect!
Enjoy!
Christa, Lilystitch
www.lilystitch.blogspot.com and www.lilystitch.com
Dear Christa,
ReplyDeleteThankyou so much for this! I'm doing the Masterclass as well - found you via Rachel's VirtuoSew's blog.
I'm scared to use the Japanese needles - mostly because they cost so much and I just *know* I'll loose them! LOL
My pleasure! I'm so glad you enjoyed this tutorial. I know that the needles seem daunting because of the expense but I do hope that you give them a try and find out how wonderful they are. These needles are a bit different than others as one doesn't throw them away after they begin to tarnish. Rather, keep the in good order by moving them to and throw in the wool block or if they get really bad, use a very fine sandpaper (500 grit) to clean them up and sharpen them.
ReplyDeleteI've been using these needles for 4-5 years now and have only had to give one up because of a really weird burr it developed. Perhaps you can look at them as a very good investment?
Have to note that I LOVE your blog. It's part of my blog-roll reading!
This is wonderful - thank you. I'm going to give it a try!
ReplyDelete